

The stones pretty but I was expecting them to be a darker black color. I wanted a pure black color not so much a shadow black color. This is buyer error but I do love the crystal color. So sparkly
Hi Chanelle,
We were sorry to see your 2-star review and wanted to personally follow up regarding your experience. We truly appreciate you taking the time to share your feedback, and we understand that the color of the stone you selected did not meet your expectations.
At Crystal Ninja, we make every effort to provide detailed descriptions, photos, and videos to help customers get as accurate an idea as possible of each stone’s color and appearance before making a purchase. We also understand that colors can sometimes look different depending on lighting, screen settings, and individual expectations.
Based on your comments, it sounds like you were hoping for a deeper, darker black for your project. If so, options such as Jet Black or Black Diamond Shadow may have been closer to the look you had in mind.
We also want to remind you that we're always happy to help with color selection before an order is placed. Even though our operations are currently limited while we work through our flood remediation, we're still happy to assist with questions and color recommendations whenever we can. If you're ever unsure which stone will best match the look you're trying to achieve, please feel free to reach out before purchasing—we'd much rather help you find the right color than have you end up disappointed with a selection that wasn't quite what you envisioned.
Thank you again for giving us the opportunity to address your concerns. We hope we're able to help you find a stone that is a better match for your project and the color you're looking for.
I am in the middle of a project and need more rhinestones. Any idea of when you will be reopening for online orders???
Hi Susan. Thank you for reaching out! We’re working diligently to reopen our shop as soon as possible and will update our store the moment we’re back online. We truly appreciate your patience and hope to be back to serving our crafting community soon!
I did want to clarify one point regarding your 3-star review. Was the rating intended to reflect your experience with the product itself, or our current shop closure due to the flood?
Our review process is designed to help fellow customers make informed decisions about the products we offer, so we want to make sure product ratings accurately reflect the quality and experience of the product.
Please know that our closure is completely outside of our control, and we are making every effort possible to reopen as quickly as circumstances allow. Unfortunately, dealing with insurance companies and City officials after our building was deemed structurally unsafe has added considerable time to the process.
We certainly understand the frustration of not being able to shop with us right now, and we share that frustration. We’re doing everything we can to get back up and running and look forward to welcoming everyone back soon.
Thank you again for your understanding, and happy crafting!
I am very impressed by Crystal Ninja and couldn’t recommend them enough! The stones are exactly what I was looking for, excellent quality and color matched perfectly. The pricing is more than fair. My order arrived early, the packaging was secure, and the shipping was very fast.
The customer service team is professional, friendly, and kept me updated throughout the process of my order.
I will be coming back for future orders and tell others to do the same. Crystal Ninja is awesome!
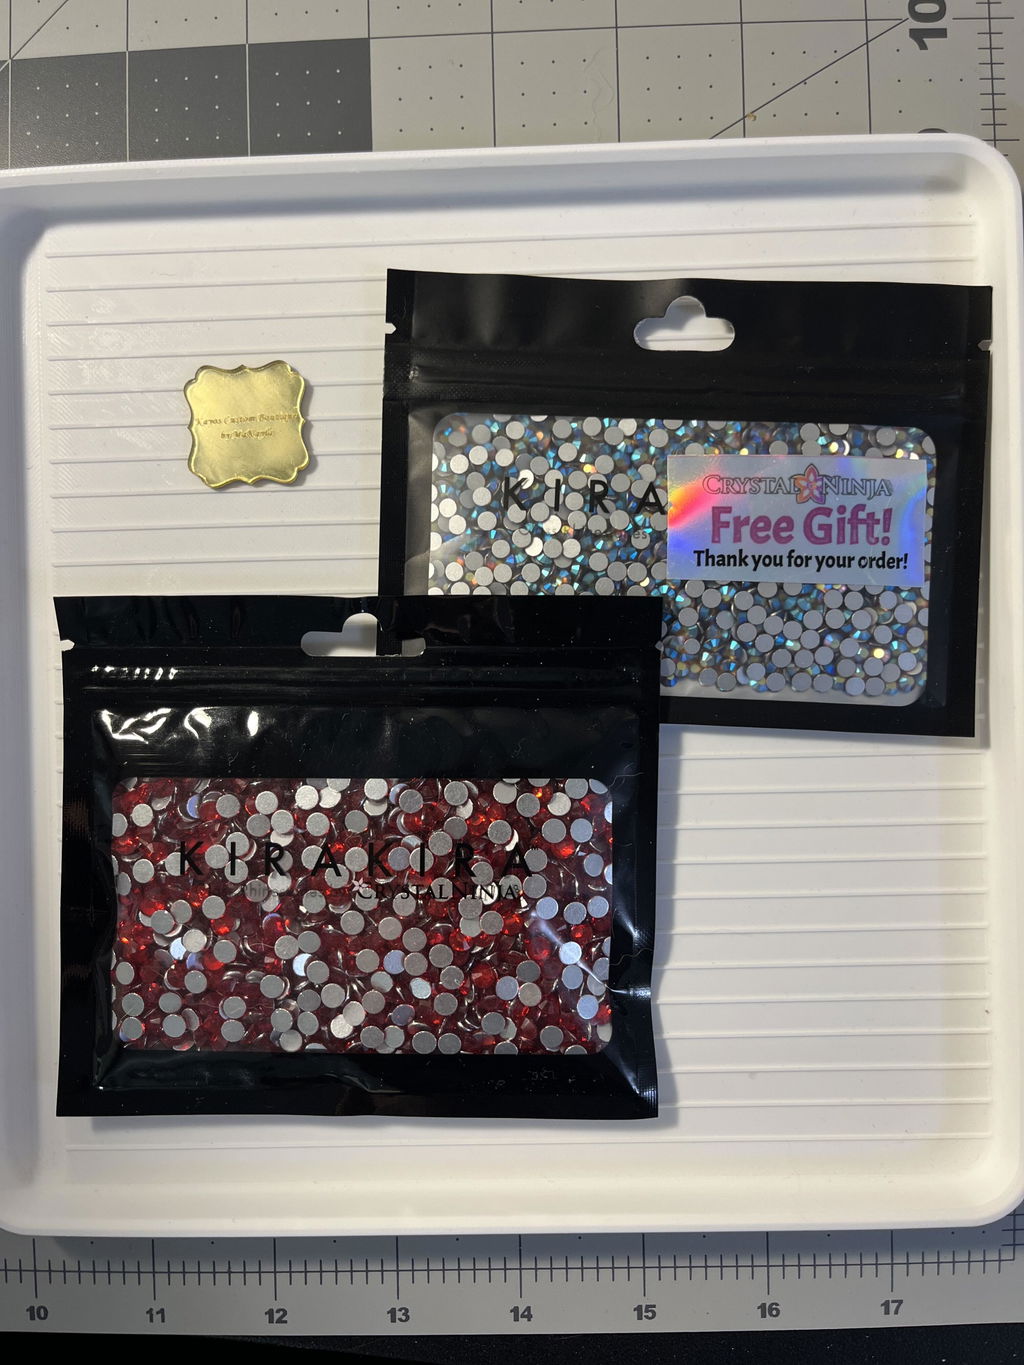
I love every single thing I buy here. Crystal Ninja never disappoints, and always carries the highest quality supplies. Fast shipping with cute packaging, too! I recommend shopping here for your sparkly supplies 1000%!!